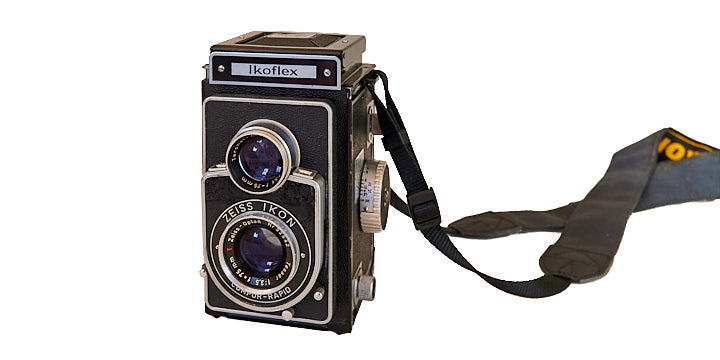
The Zeiss Ikon Ikoflex IIa 855/16 is a simple twin-lens reflex (TLR) camera, almost spartan, with good clean lines.
This article is not a review of the camera; instead, it surmises my first impressions and observations after using the camera for the first time. See the photos from my first roll of film shot with the Zeiss Ikon Ikoflex IIa. (coming soon)
The Ikoflex uses 120 film and takes pictures in the 6×6 format. You get 12 shots per roll of 120 film.
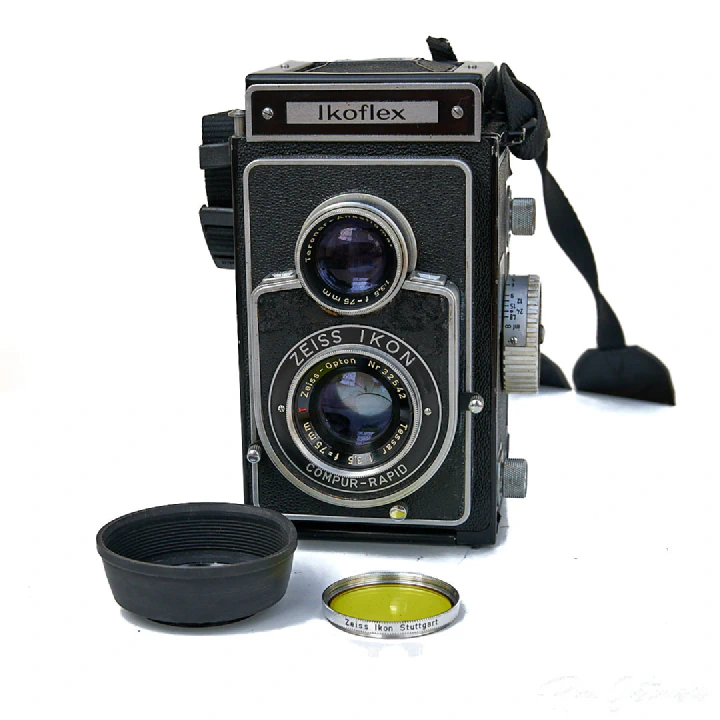
By definition, a TLR camera has two lenses. A viewing lens (the upper lens) and the taking lens (the lower lens). As the name suggests, you view, compose and focus through the viewing lens. The focus is coupled between the viewing and taking lenses. When you press the shutter release, the camera takes the photograph through the taking lens.
On the Zeiss Ikon Ikoflex IIa, the viewing lens is a Teronar Anastigmat 3.5/75mm, and the taking lens is a Zeiss Opton Tessar 3.5/75mm 4-element in three multi-coated groups.
The shutter is a Synchro-Compur XM leaf shutter, with speeds ranging from 1 sec to 1/500 sec. There is no timer delay.
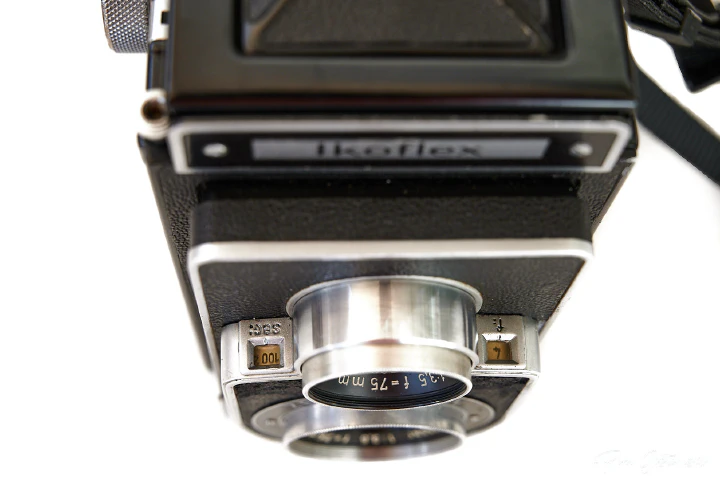
The IIa model displays the aperture and shutter values in two windows on either side of the taking lens. The windows are clearly visible when operating the camera and looking from above—a significant improvement in the ergonomics over the previous models.
The camera weighs 1.2Kg, although it doesn’t feel heavy. Possibly due to its comparatively compact size. The weight is probably a reflection of the build quality. It certainly feels solid; no flimsy bits which feel as if they might break.
First impressions of the Zeiss Ikon Ikoflex IIa
I would certainly describe the Ikoflex as a quirky camera. On the one hand, it is very basic and straightforward. On the other hand, it is over-engineered, and if you don’t understand how to operate it, it can be unusable.
Loading film
The sequence to load film is more complicated than in any camera I have ever used. I am still working on perfecting the technique, but so far, the following sequence works for me:
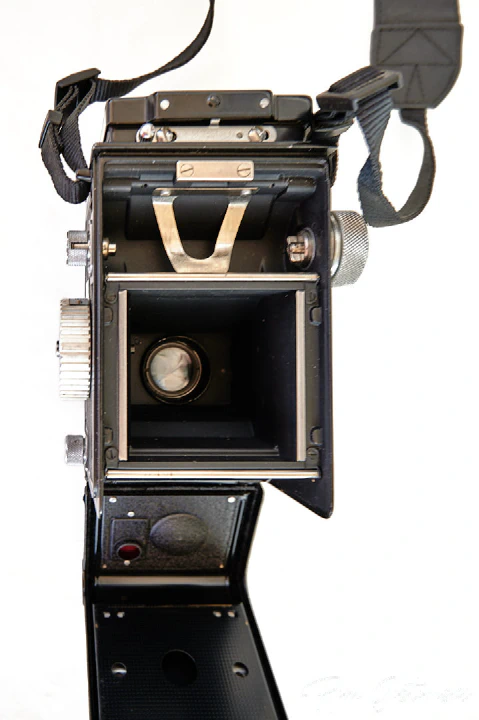
- Insert the unexposed spool of film at the bottom of the camera and engage the leader in the top spool.
- Wind the film forward a little to ensure that the leader is securely engaged and correctly seated. Close the camera back.
- Open the red glass viewing window on the bottom of the camera and wind the film forward until you see the number 1. Close the viewing window.
- Set the film counter manually to number 1 (push down and rotate the counter).
- The counter is advanced automatically as you wind the film forward after each shot. You can only advance the film forward one frame at a time.
- After taking the twelfth shot, you keep turning the knob until the film is fully wound onto the take-up spool.
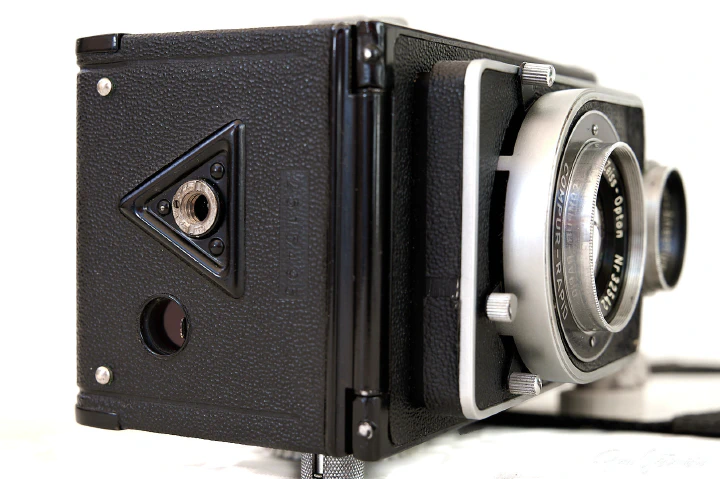
Winding the film on does not cock the shutter. There is a separate lever under the lens which cocks the shutter.
There is no means of taking a double exposure that I can see.
Focusing
A folding waist-level viewer provides a preview of the image. A sliding lever opens the viewer – the viewer hood panels spring up very abruptly. Beware!
The focusing screen is reasonably bright, and there is a flip-up magnifying glass to help with focus. The focus knob also has a depth of field scale.
The focus knob is not the smoothest and is a little stiff. A quarter of a turn takes you from 1m to infinity. This can be an advantage or disadvantage, depending on your point of view.
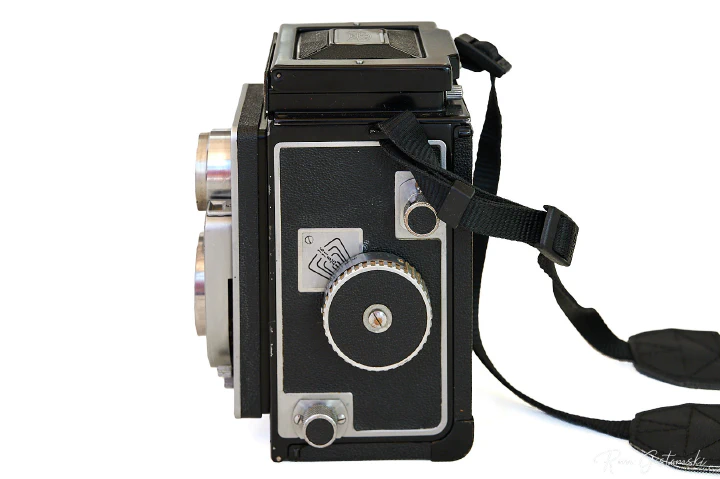
To summarise, the preview and focusing are adequate but not outstanding.
Shutter and aperture
Sliders on either side of the taking lens control the shutter speed and aperture. This operation felt strange at first (I am used to precise click settings), but they do work rather well. Being able to see the settings in the preview windows when viewed from above was a great help. My first roll of film was correctly exposed, so the settings must be accurate.
One thing to note: you have to move the lever a long way to achieve the 1/500sec setting from the previous 1/250sec setting. To achieve the 1/500sec setting, you have to set it first before cocking the shutter.
Shutter release
The shutter release is on top of the camera on the right of the pop-up waist-level finder. I found the position a little awkward. A nice touch is that the shutter release is automatically locked when you fold the view-finder folded.
A few words from the service technician
When I received this camera, it was in very poor condition. It was heavily oxidised and had many years of accumulated grime, probably due to decades without use. However, with careful and meticulous disassembly and thorough cleaning of all the parts, the camera has come back to life. It is ready for another 60+ years of use.
Regarding lens quality, the technician made the following comments:
The lens is a fully-fledged Zeiss. It has that balance of sharpness and contrast that results in a magical range of tonality which holds up exceptionally well in highlights while retaining detail in the shadows.
However, the technician advised caution regarding the lens anti-reflection coatings. Use a lens hood; otherwise, the images can acquire a soft effect which can be pleasant in portraits and dreamy landscapes, but not in general photography.
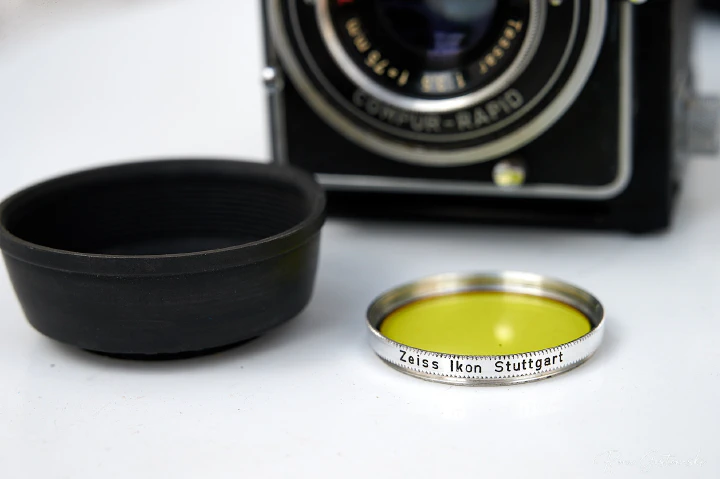
The Zeiss Opton Tessar lens excels at medium distances where it has good punch, no vignetting and lacks distortion. Just like a good Zeiss.
Further reading
Article about the Zeiss Ikon Ikoflex by Ivor Matanle
